
Super simple Quilted Log Cabin pillow.
Log Cabin quilted pillow.
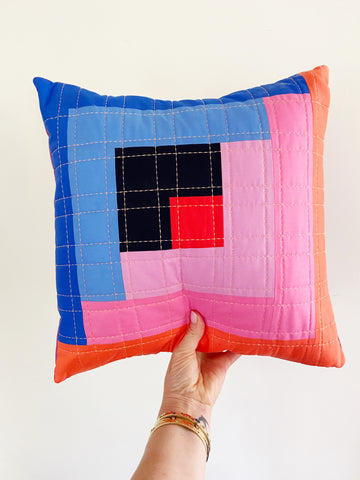
This is the perfect beginner friendly sewing project that you can whip up in a jiffy. With the holidays around the corner, they make the perfect gift!
Supply list
. Strips of 7 different colors. Strips need to measure 2 ¾” wide.
. 17 x 17” batting
. 17 x 17” backing for quilted front.
. 16 ¼ x 12” pieces (x2) for the pillow back
. Basic sewing supplies
This project is sewn with a ¼” seam allowance.

1.Start with a center square measuring 2 ¾ x 2 ¾”
2. Attach a second 2 ¾ x 2 ¾” square. Use the above diagram for placement.

Press the seam open.
3. Roughly cut the next strip (3) and attach according to the diagram. Press the seam open and trim to size.

4. Continue adding strips in this way, trimming and pressing as you go.
The above diagram will show you the order of the strip sewing.
When the log cabin is completed, you may need to give the piece another trim to square things up.
The finished panel should measure 16 ¼ x 16 ¼.

5. Create a quilt sandwich with batting in the middle and a piece of fabric on the back.
I like to use a basting spray to hold everything together.

6. Quilt the piece using your preferred quilting method. See the video below for my favorite method.


7. Trim the extra batting and backing from the quilted front.
8. Fold down one long edge ½” on both of the pillow back pieces . Press. Now fold that edge over again and press.

9. Topstitch close to the edge of the fold.

10. With the quilted front facing up, lay one side of the backing face down on top.

11. Add the second side – they will overlap in the middle.
12. Pin around all sides of the pillow.
13. Sew around all sides with a ¼” seam allowance.

14. Snip off the corners.
To prevent fraying you can zig zag or serge the raw edges.
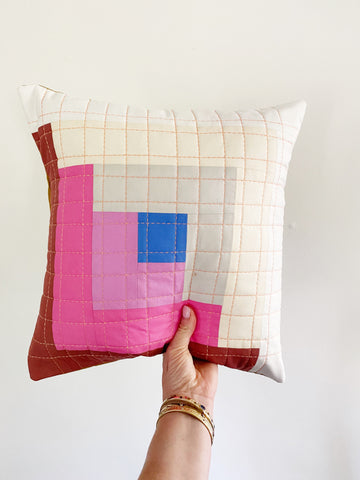
Turn the pillow right side out and add a 16" pillow form and Voila!
Stuff with a 16" pillow form and enjoy!